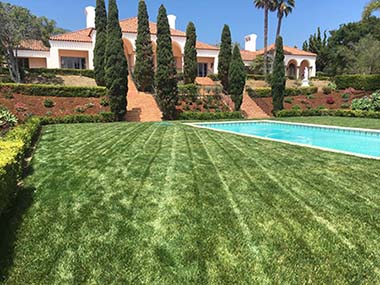
Fake it, Don’t Break it – How to Make Your Yard Look Great with Artificial Grass
Thanks to AstroTurf and other “green carpets” of its ilk, artificial grass earned a bad rap in the past. But new products, growing requests for xeriscapes at home, and a desire for lower maintenance landscapes has reawakened our interest in using artificial turf. With a little bit of planning and a diligent mindset, this could be the right solution for bringing more green to a Southern California home.
1. Research. Find the right product for your landscape. Decide if the products you are viewing are realistic looking and suit the aesthetic of your landscape. Do you prefer longer, arching blades or the neat and trim look of a putting green? Make sure you’re buying from a reputable company, too.
2. Lay a base. Remove a few inches of soil from the top of where your new turf will go. Put down and compact a couple inches of fine gravel or sand for drainage. A landscape contractor might be a great asset for this part of the job.
3. Prep the surface. This is a biggie. You really want to make sure your surface is nice and smooth. And uneven base will cause wrinkles to form, as will larger rocks or woody old roots. Smooth is desired, but flat is not. Be sure there’s enough pitch to keep water moving when it rains. 1-2% of slope is best.
4. Stop the weeds. Lay down a heavy duty landscape fabric to prevent weeds and secure it into place. Follow the manufacturer’s recommendations to ensure you don’t puncture the material where you shouldn’t.
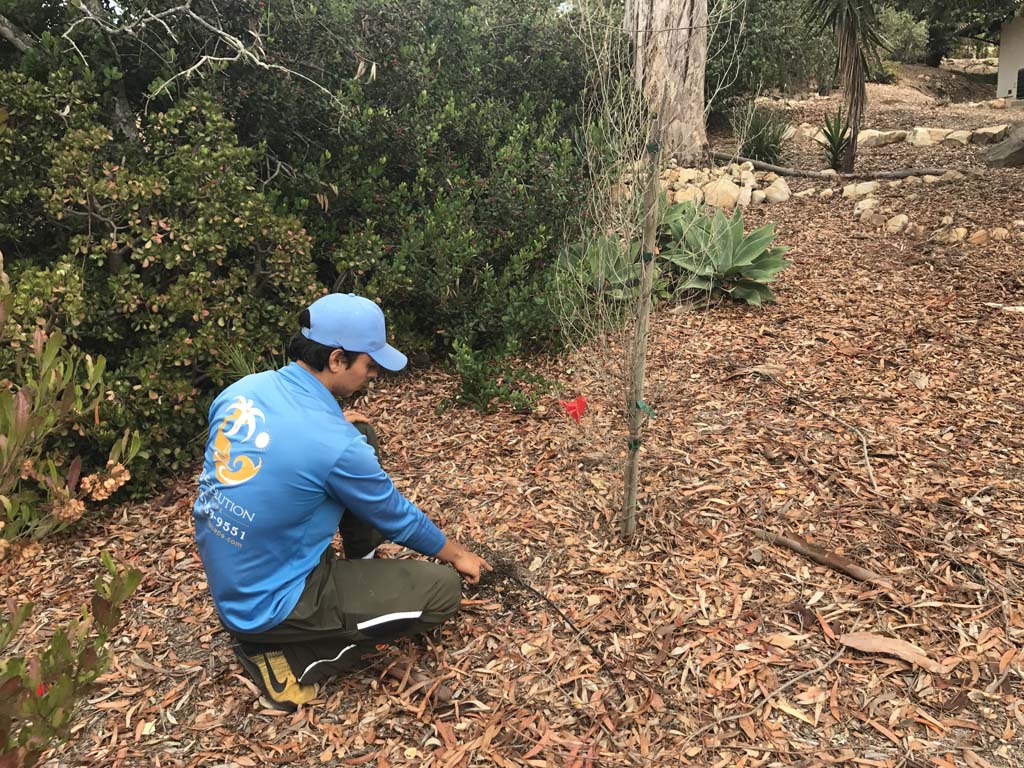
What is a landscape maintenance program?
The natural environment is ever changing, always growing and regularly impacted by weather and climactic conditions. Regular maintenance under the eyes and care of a professional will keep your landscape looking trim and neat no matter what …
5. Get it ready. Once you have the turf, lay it out into the sun so it warms and expands to its expected size for an accurate installation. Eight hours to a day laid out on a flat surface like a driveway is adequate.
6. Go with the grain. While your new turf is lying out in the sun, look at the grain of the blades to see which direction they go. Plan your installation so that the blades will point in the same direction throughout the lawn.
7 .Make it seamless. Plan and cut the seams so that they abut without looking like it. One piece should be cut in between seams, while the adjacent right on the seam. At the edges, leave enough excess (around 4” should do it) for careful trimming once the rest of the turf is in place.
8. Secure it. The brand of turf you select will have specific instructions for installing, attaching seams, and securing the turf to the ground. Be sure to read and understand this process to ensure a professional look and to preserve any warranties that might be available. Some grass products come with seam tape and glue, while others simply require landscape staples. If you’re using an infill, apply that at the recommended rate and per the manufacturer’s recommendations as well.
That’s it! There’s nothing more to do now but get your lawn chair or dust off that cornhole set you bought last year.


Leave A Comment
You must be logged in to post a comment.